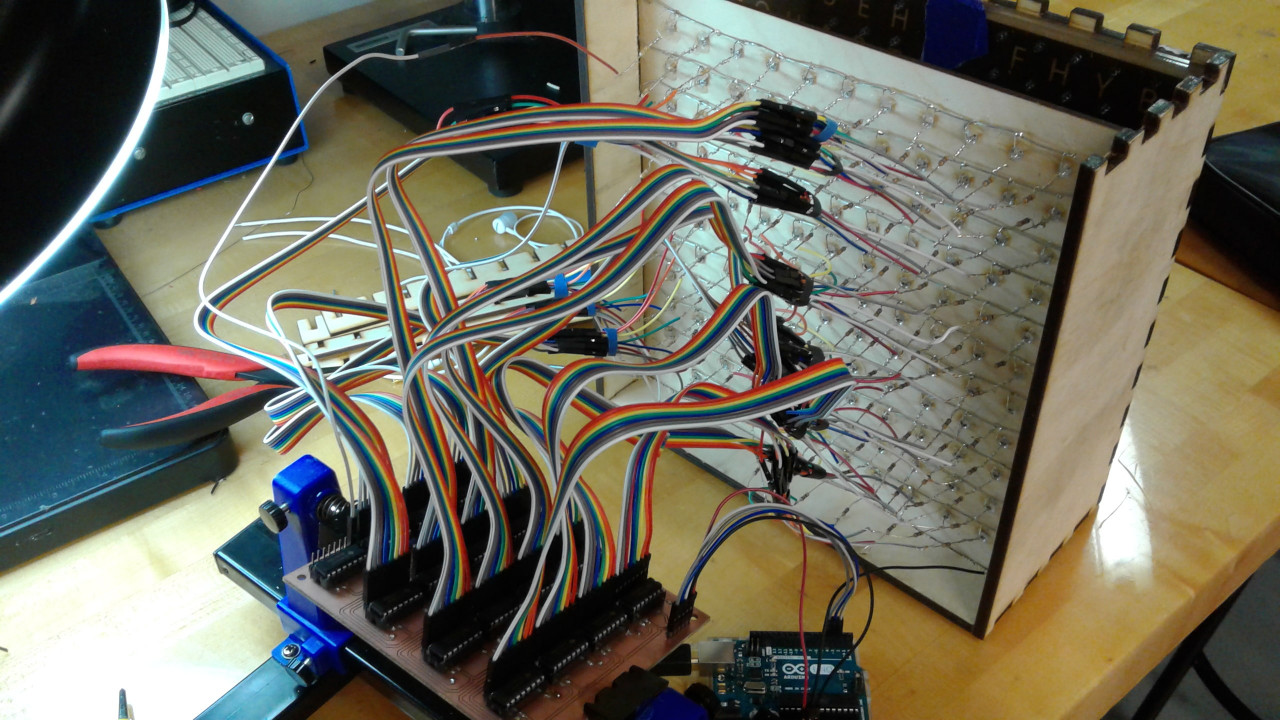
The first design. This rats nest of wiring had to squeeze into this small box and wires are exposed.
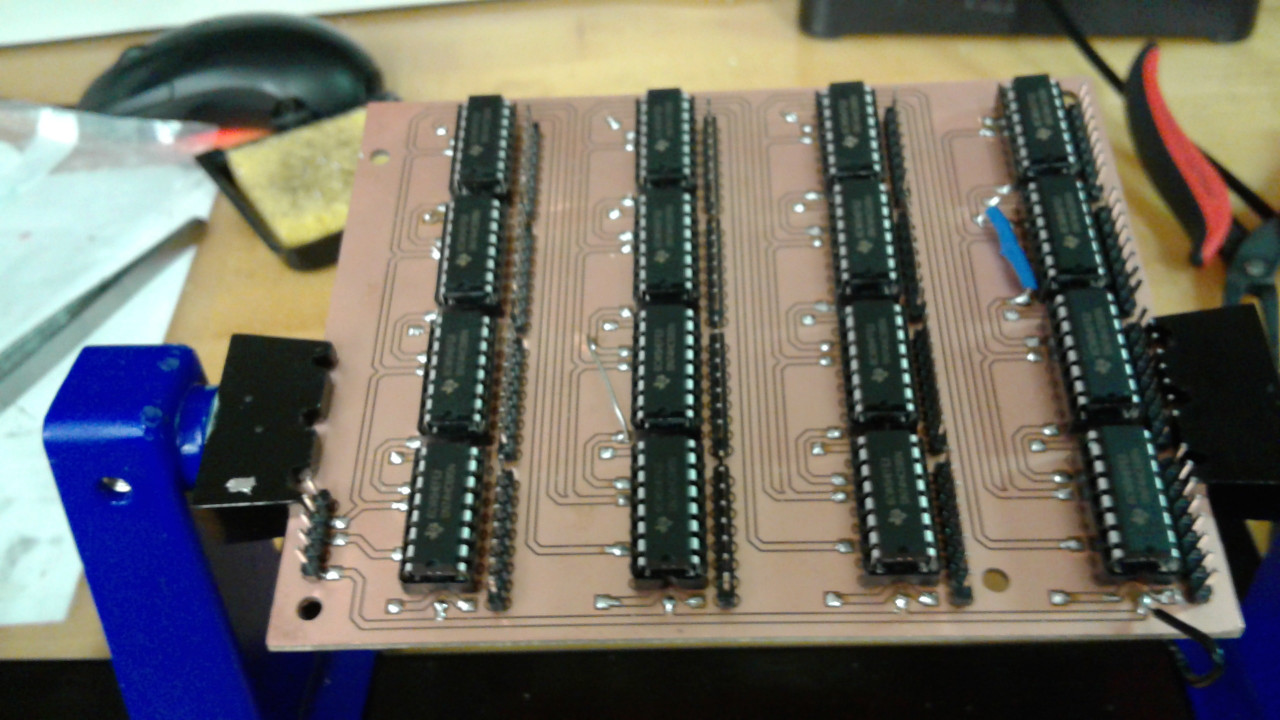
The first design of the PCB that held the daisy chained shift registers. I needed a way to control 121 LEDs with only 13 inputs into the Arduino, which lead me to shift registers. I had to manually solder around 500 thru holes.
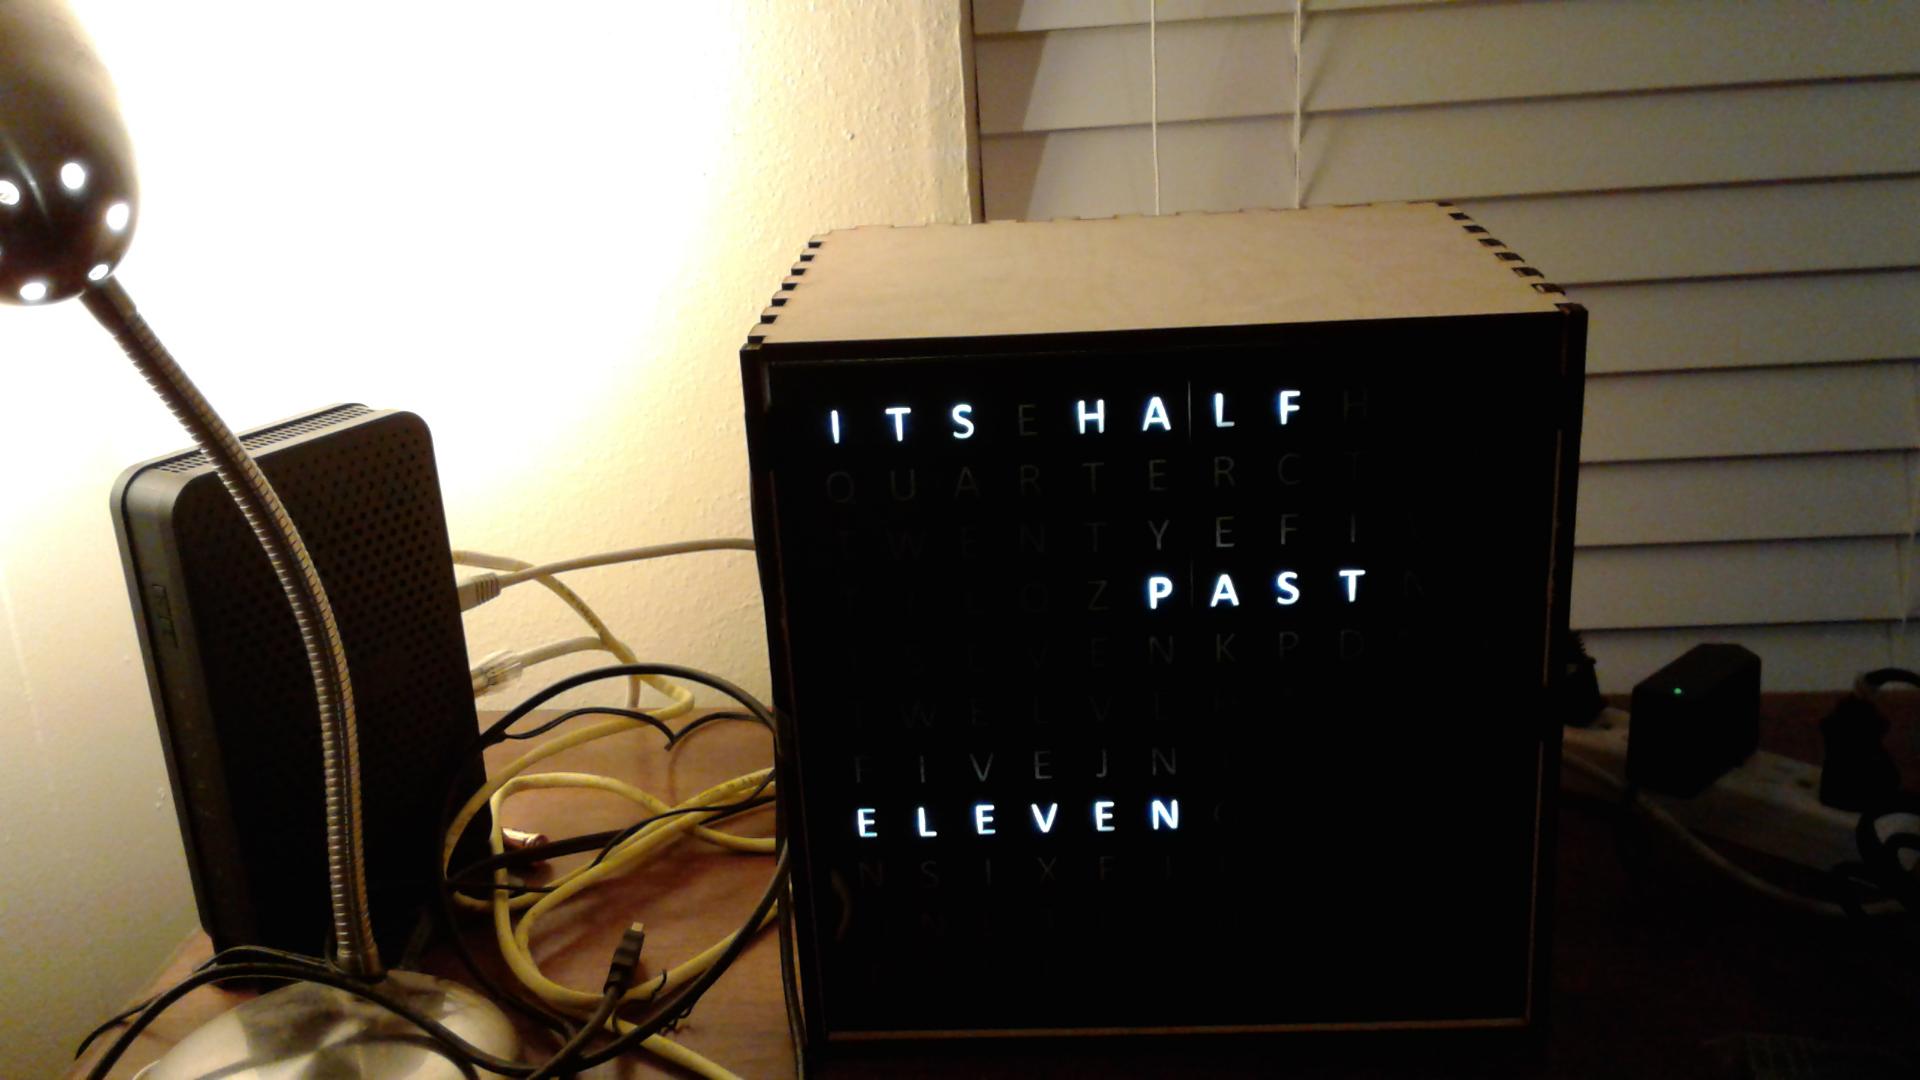
The completed first design. The clock is very thick and not feasible to mount on a wall.
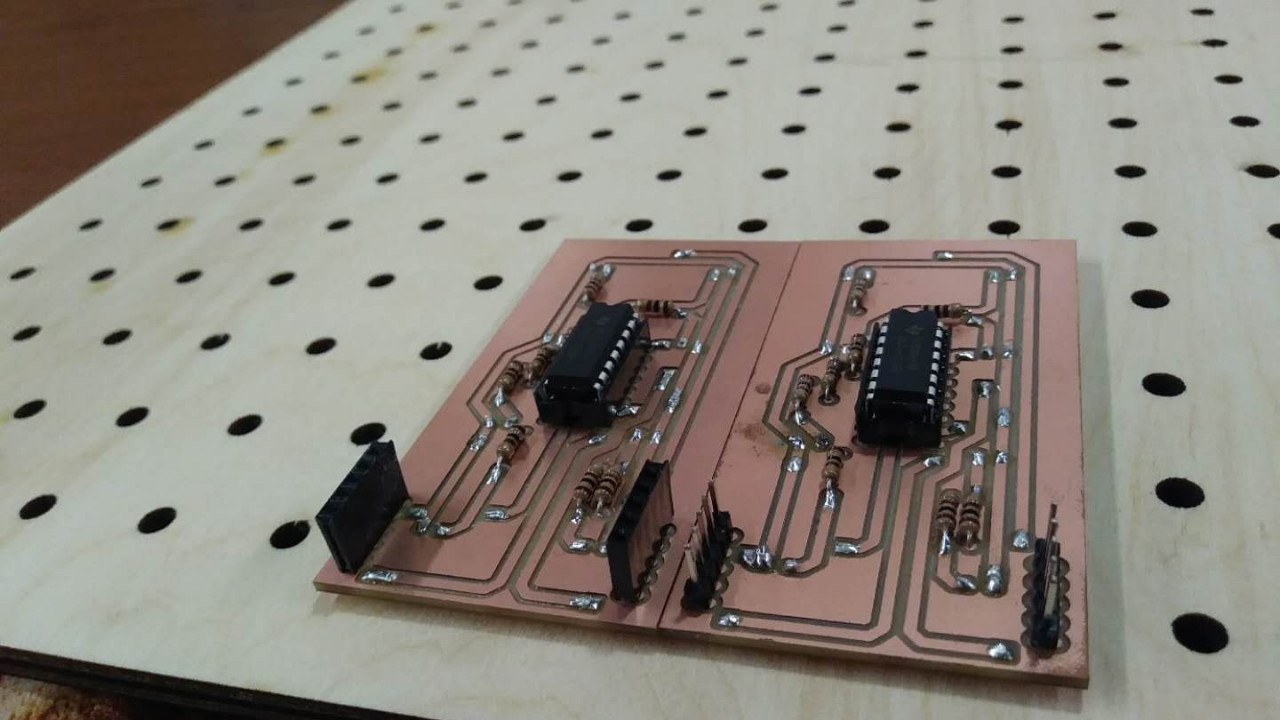
The new modular PCBs that unified a shift register to its appropriate LEDs and resistors (LEDs are underneath the PCB). They are connected through the five exposed pins, which significantly reduces the wiring required to link everything together. The whole clock thickness can be halved to save space.
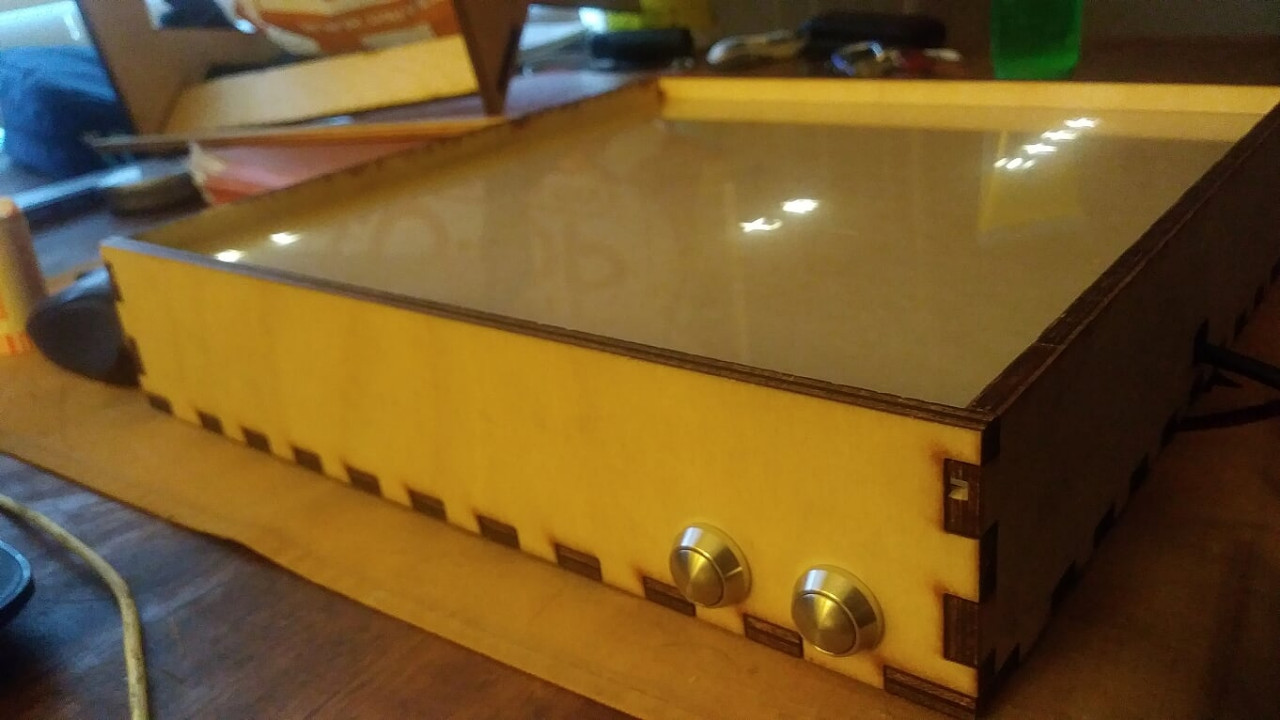
The new buttons to shift the time. Also shows the difference in thickness between the old clock and new one. You can partially see a new chinese template on the top.
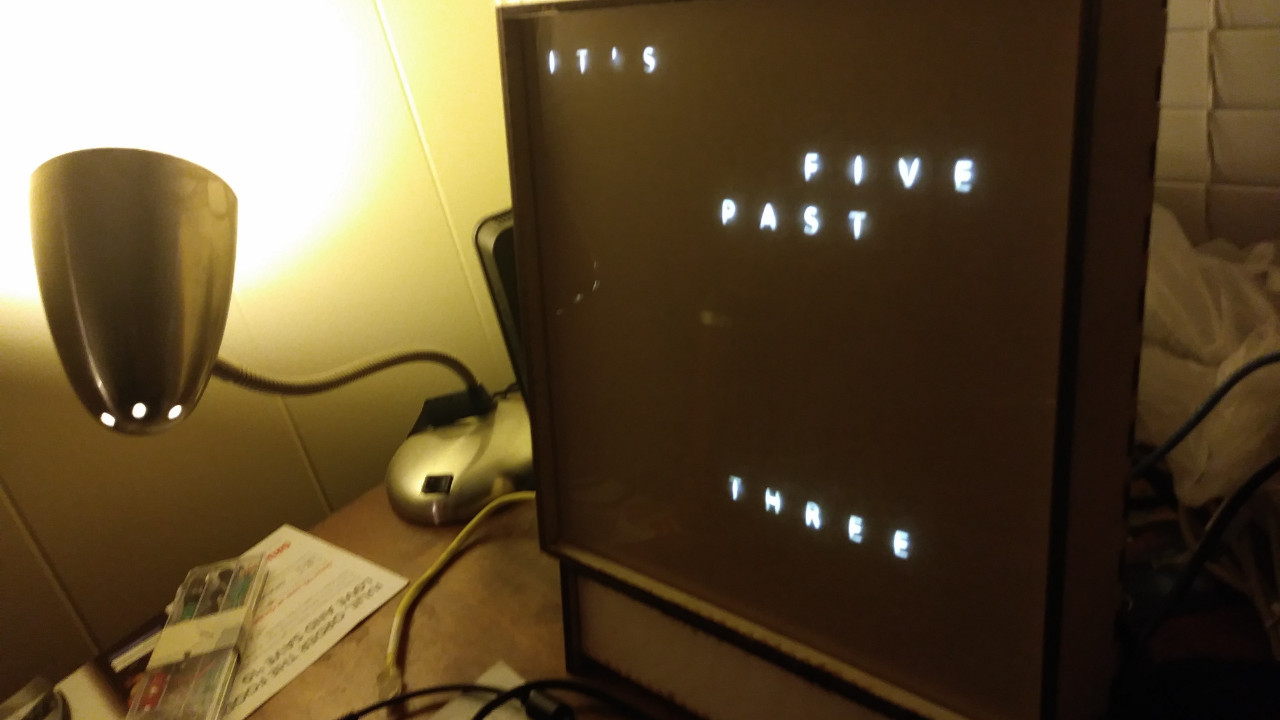
The new clock completed, with the original english template. Some diffuse paper is used to reduce the light bleed into other letters.